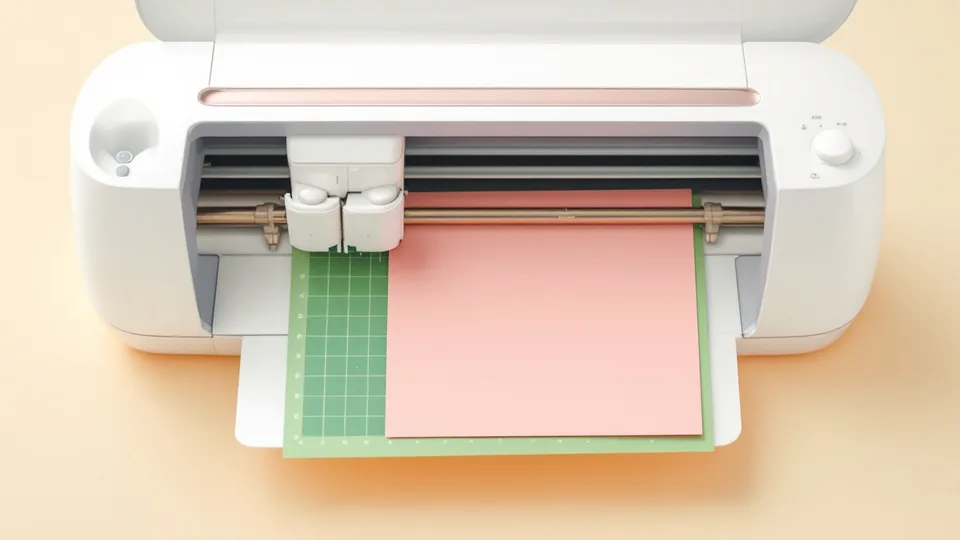
A Cricut can look intimidating out of the box, but cutting a design someone else has already drawn is the easiest thing it does. You do not need to design anything, learn any software beyond a few buttons, or pay for a subscription. If you can download a file and click Upload, you can cut it.
This guide takes you all the way through: finding a design on HKCMarket, downloading it, and cutting it into a finished piece on your table. It works for the three machines most people own: the Cricut Maker, the Explore Air 2 (and Explore 3), and the Cricut Joy.
What you need before you start
- A Cricut machine with its fine-point blade, which comes installed.
- Cricut Design Space, the free app that sends designs to the machine. It runs on Windows, Mac, iPhone, iPad and Android.
- A cutting mat. The green StandardGrip mat suits cardstock, which is what most cut files are made for.
- Cardstock. 65 to 80lb cardstock is the easiest to start with.
- A cut file. If you want to practise before buying anything, grab one of our free SVG files. They are the same quality as the paid designs.
You do not need Cricut Access. Designs you upload yourself are always free to cut.
What a cut file actually is
A cut file is a drawing saved as clean outlines that a cutting machine can follow. Every file here comes as a ZIP with four versions of the same design:
- SVG is the one to use with a Cricut. It keeps every shape and layer separate and sharp at any size.
- PNG is a picture with a transparent background, handy for print then cut.
- DXF is for other machines and older software.
- JPG is a preview image.
For a fuller comparison, see SVG vs PNG vs DXF.
Which Cricut do you have?
All three work the same way for cut files. The differences are size and settings.
- Cricut Maker and Maker 3. Cuts on 12 by 12 inch or 12 by 24 inch mats. You choose your material in Design Space before each cut.
- Explore Air 2. Also takes 12 by 12 and 12 by 24 inch mats. It has a dial on the machine: turn it to Cardstock, or turn it to Custom and choose the material in Design Space. The Explore 3 has no dial, so you pick the material on screen like the Maker.
- Cricut Joy. A compact machine that cuts up to 4.5 inches wide on its own mats (the Joy Xtra goes up to 8.5 inches). Perfect for card fronts, titles and tags. Just size the design to fit before you cut.
Step 1: Find a design on HKCMarket
There are two easy ways to find a design. Click the magnifying glass at the top of any page and type what you are looking for, such as birthday, flowers or thank you, then press Search.

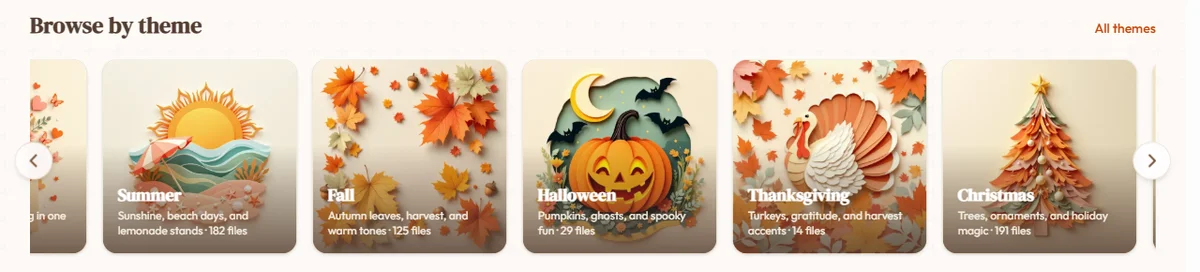
Or scroll the home page to Browse by theme and pick a theme such as Fall, Christmas or Word Art & Quotes. You can also open every theme at once.
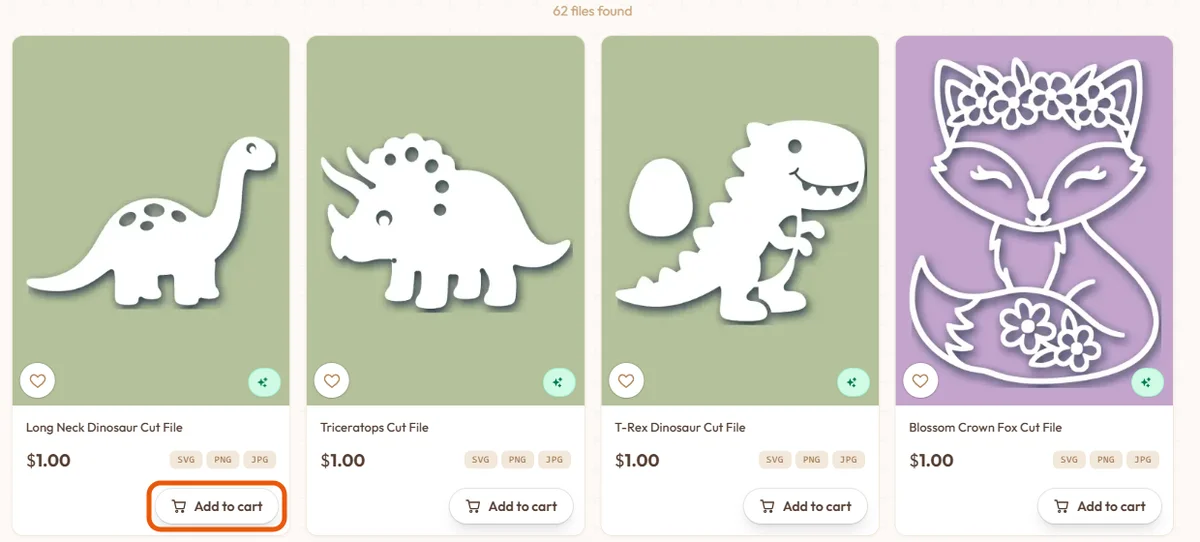
Every design shows its price and the file formats it includes. Click Add to cart right on the card, or click the picture to see the design up close first.
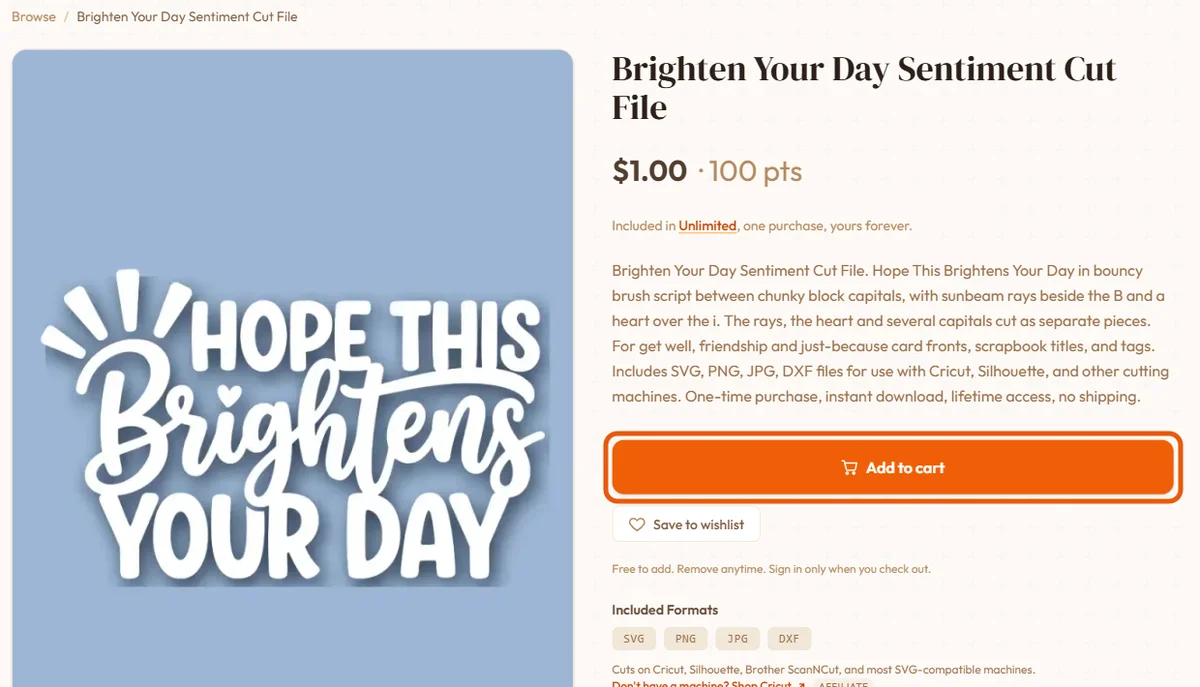
On a design page you see the full image, the price, a description and the included formats. Click the big orange Add to cart button.
The button changes to In cart, go to cart. Keep browsing and add as many designs as you like, then click it (or the cart icon at the top) when you are ready.

Step 2: Check out and download
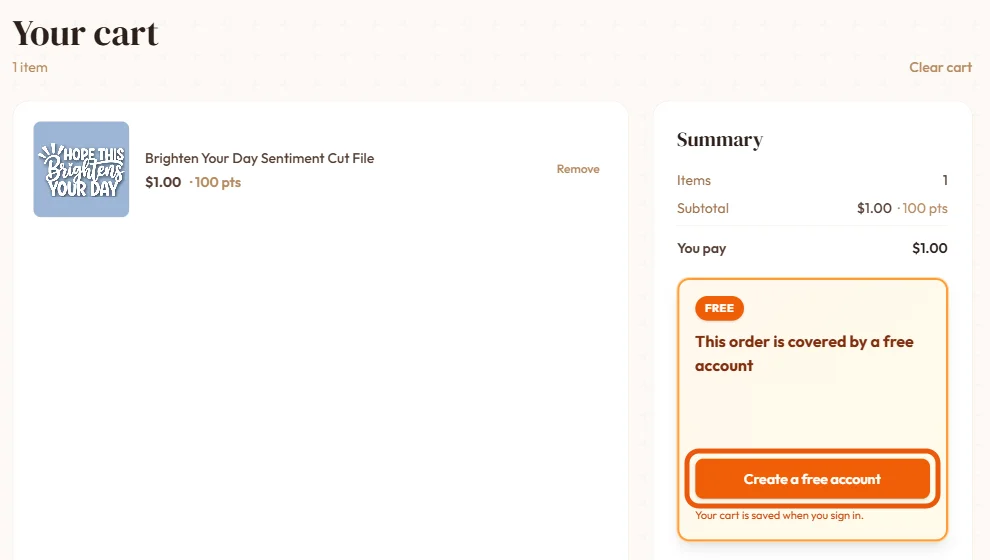
Your cart lists your designs and what you pay. You need a free account to check out, and there is no password. If you are new, click Create a free account.
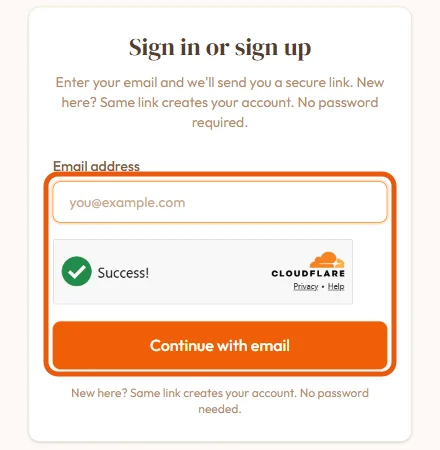
Type your email address and click Continue with email. We email you a secure sign-in link. Open it on the same device and you land straight back in your cart, with your designs still in it. The same link creates your account the first time, so there is nothing else to fill in.
Then click the button at the bottom of the cart:
- Claim if everything in your cart is free.
- Complete with points if your points cover the order. New accounts start with bonus points, so your first files can cost nothing.
- Pay with a card through Stripe's secure checkout for anything else.
You arrive on your download page. It has a button for each format: SVG Format, PNG Format, DXF Format, JPG Format, and a ZIP Format with all four together. For a Cricut, click SVG Format. That is the only file you need, and it saves straight to your Downloads folder with nothing to unzip.
Your files never expire. Come back any time from Account, then Purchases.
If you download the ZIP instead, open it first: right-click and choose Extract All on Windows, double-click it on a Mac, or tap it in the Files app on an iPhone or iPad.
Step 3: Upload the SVG to Design Space
Open Design Space, start a new project and click Upload, then Upload Image. Browse to your Downloads folder, choose the SVG file and click Upload. The design appears in your Recent Uploads. Select it and click Add to Canvas.

That is the whole import. If anything looks wrong, our step-by-step guide to uploading an SVG to Cricut covers every screen, including the phone app.
Step 4: Size it for your project
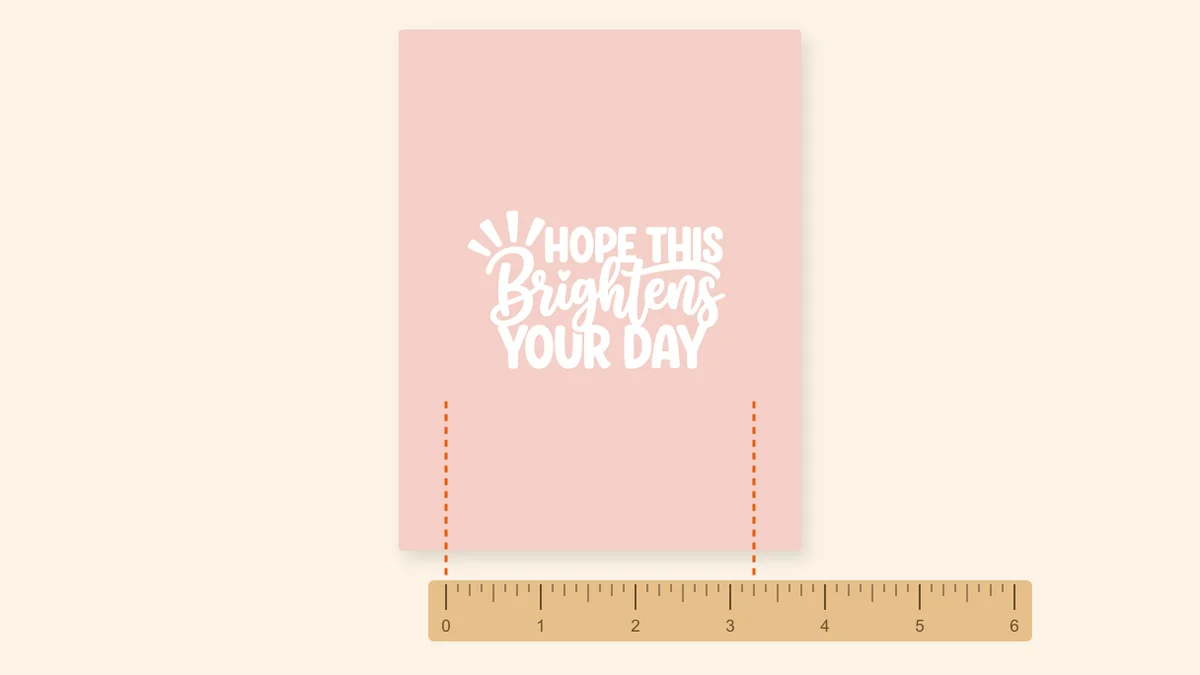
The design lands on the canvas at its original size. Click it and type a width or height in the Size box at the top, keeping the padlock closed so it scales evenly.
A quick rule of thumb: a card front for a standard A2 card is 4.25 by 5.5 inches, so a title or motif around 3 to 4 inches wide sits nicely on it. Our card size guide lists every common size.
If a design has several colors, each color is its own layer. You can hide any layer you do not want to cut by clicking the eye icon next to it.
Step 5: Choose your material and load the mat
Click Make It. Design Space lays each color onto its own mat preview. Choose your material from the list (search for the cardstock weight you have), or on the Explore Air 2 set the dial.
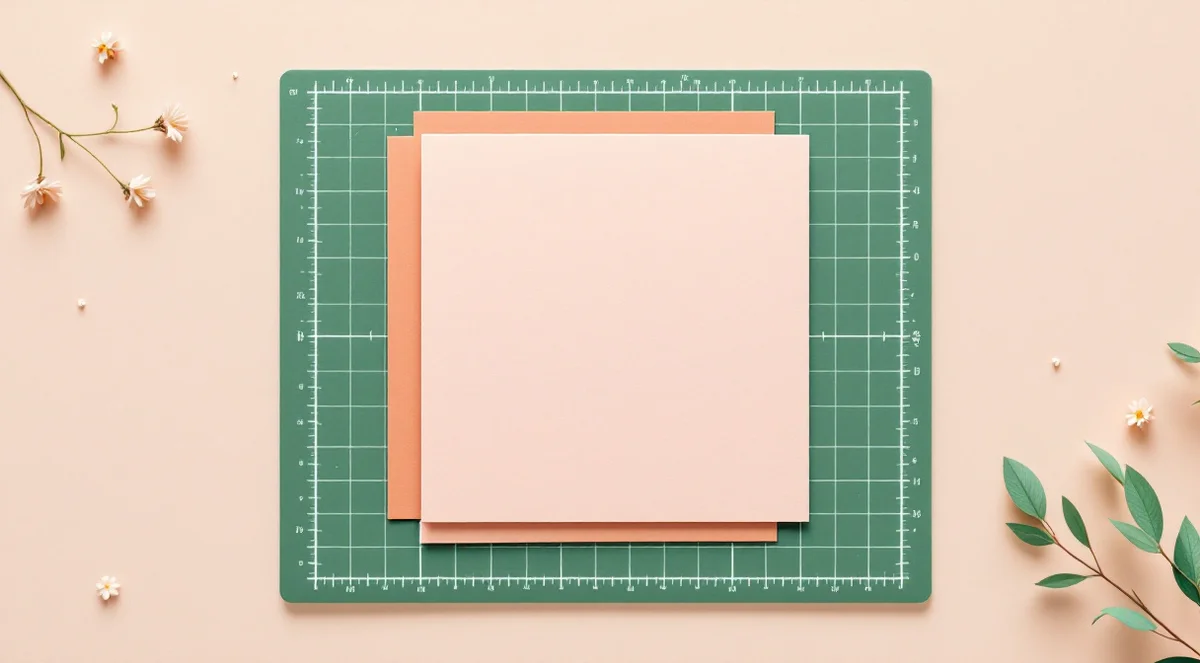
Place the cardstock on the mat, lined up with the top left corner, and smooth it down with your hand. Slide the mat under the guides and press the load button. Our cardstock settings guide has the settings that work if a cut comes out rough.
Step 6: Cut
Press the flashing Go button. The machine cuts every outline for that color.
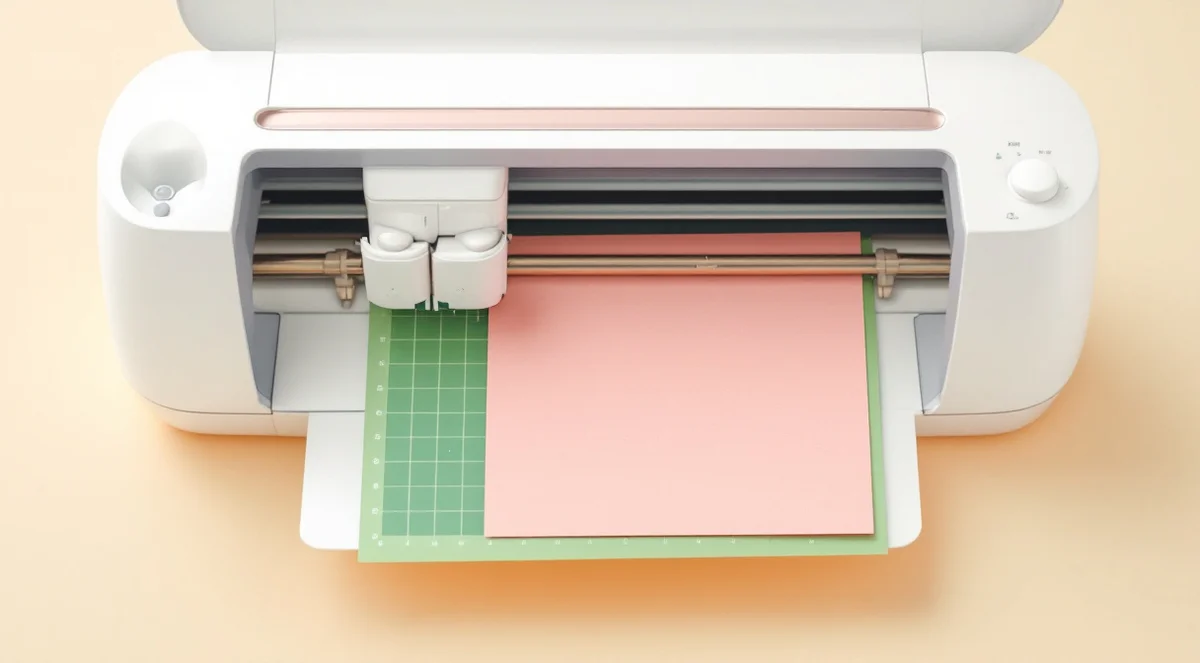 When it finishes, unload the mat and move to the next color if there is one.
Before you unload, lift one corner gently. If a cut has not gone all the way through, press the load button to put the mat back and cut again. It lines up in exactly the same place.
Step 7: Peel and weed
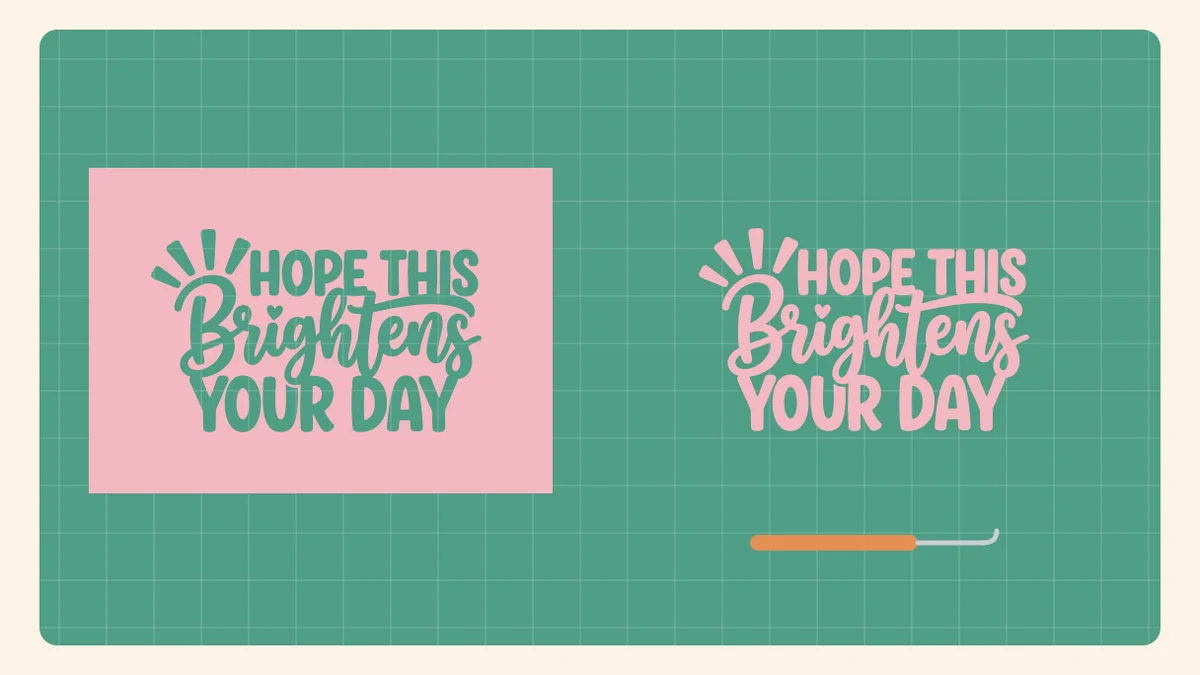
Turn the mat upside down over the table and curl the mat away from the cardstock, rather than peeling the paper off the mat. It keeps thin letters from curling or tearing. Then pick out the small inside pieces, like the centers of letters, with a weeding hook or a craft knife tip.
Step 8: Assemble
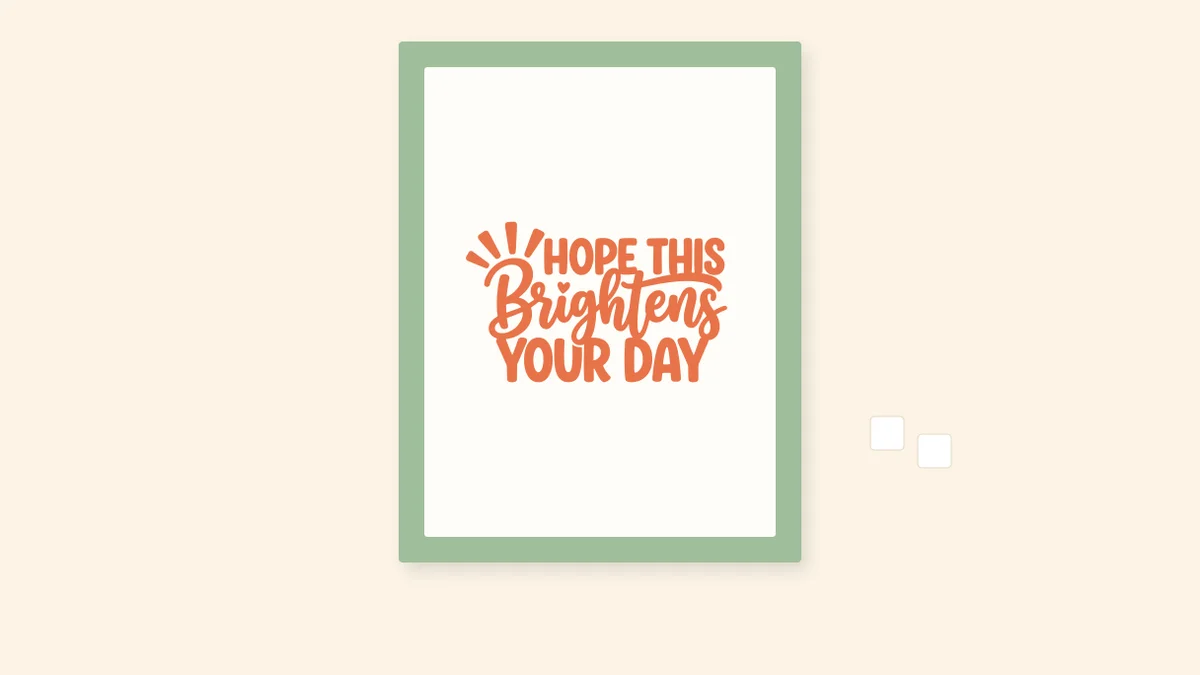
For layered designs, glue the pieces together in order, starting with the base layer. A thin liquid glue or a tape runner works well, and foam squares add depth. Then attach it to your card front, scrapbook page or tag.
What can you make with a Cricut?
Once you have cut one file, you can cut them all. Some easy first projects:
- Handmade cards. A card sentiment cut from one color and layered on a card base is the quickest win there is.
- Scrapbook titles. Word art in a contrasting color turns a plain page into a finished one.
- Gift tags and labels. Small, fast, and a good way to use up scraps.
- Stickers. Print a PNG and let the machine cut around it with Print Then Cut.
- Party decor. Banners, cupcake toppers and table cards for birthdays and holidays.
Browse every theme for your next project, or start with the free SVG files.
When something goes wrong
- The cut did not go through: use a heavier cardstock setting, or add a second pass. See cutting cardstock.
- The paper slides or tears: the mat has lost its grip. Here is how to clean a Cricut mat and make it sticky again.
- The design cut as loose pieces you wanted joined: use Weld or Attach, explained in Slice and Weld in Design Space.
Frequently asked questions
Do I need Cricut Access to use these cut files? No. Cricut Access is an optional subscription for Cricut's own design library. Any SVG you upload yourself is free to cut, forever.
Which file do I upload to Cricut? Upload the SVG. It keeps every layer separate and sharp at any size. The PNG is only needed for Print Then Cut.
Can I use cut files on a Cricut Joy? Yes. Size the design to fit inside 4.5 inches wide (8.5 inches on the Joy Xtra) and cut it on a Joy mat.
Can I do this from my phone? Yes. Save the ZIP to your phone's files, unzip it, then use Upload in the Design Space app exactly as on a computer.
Can I sell what I make? You can use the designs for personal projects and handmade physical items. Reselling or sharing the digital files themselves is not allowed.


