Originally published by Hip Kit Club on hipkitclub.net.

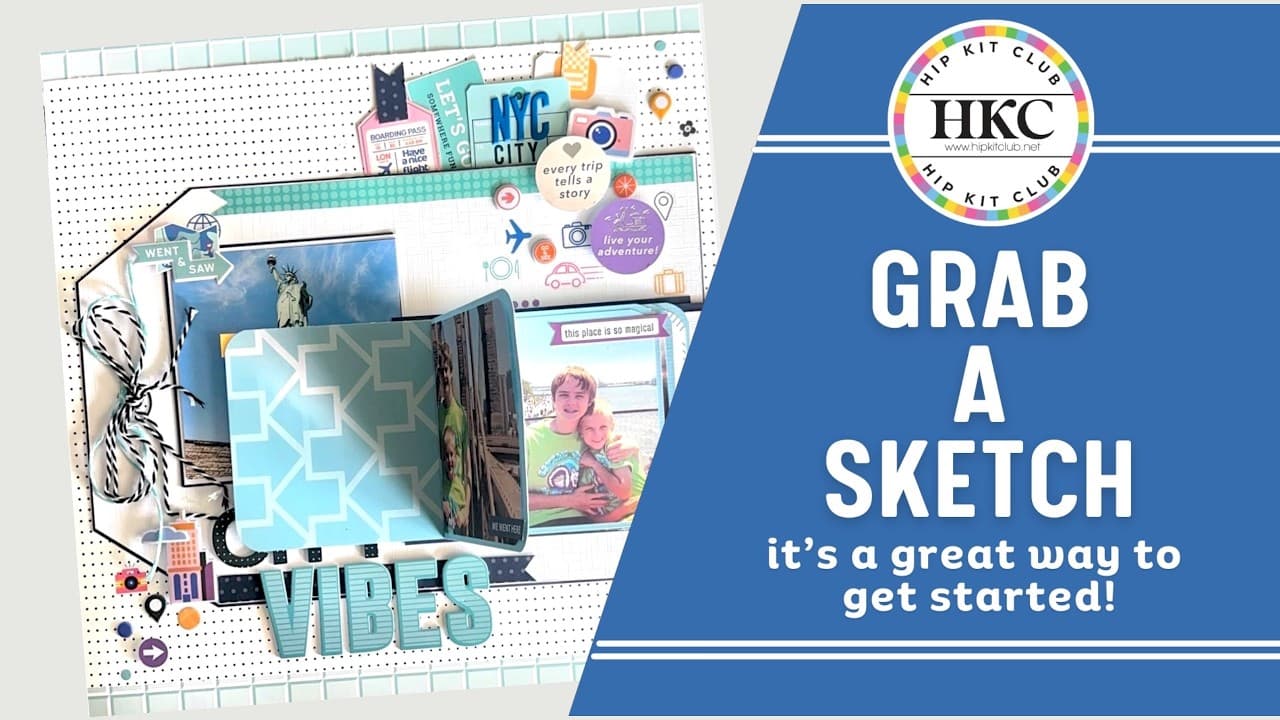
Hi friends, it’s Kimberly! I am so excited to share this gorgeous project from the talented Shanel Pettyjohn on our Hip Kit Club Design Team. Shanel took the hundreds of photos she captured during a two-week trip to New York City with her children and turned them into a stunning travel layout featuring an interactive waterfall mini album. If you have ever come home from a vacation buried in photos and wondered how to fit them all on one page, this is the technique you have been waiting for. Shanel started with one of our monthly sketches and modified it in the most clever ways, swapping in branding strips and even building a custom luggage tag to play up that wanderlust travel theme.
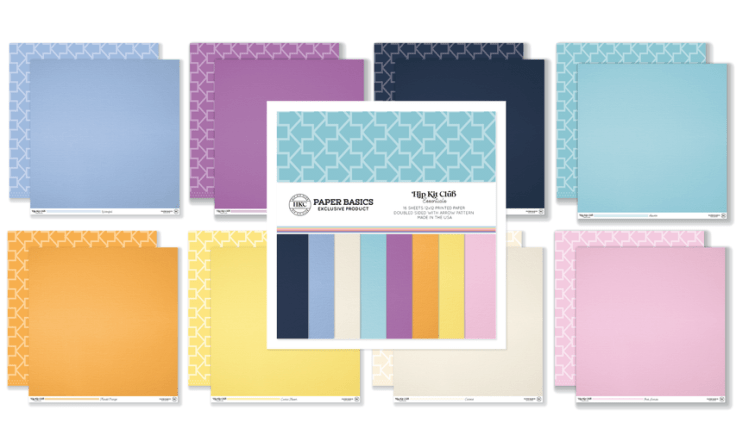
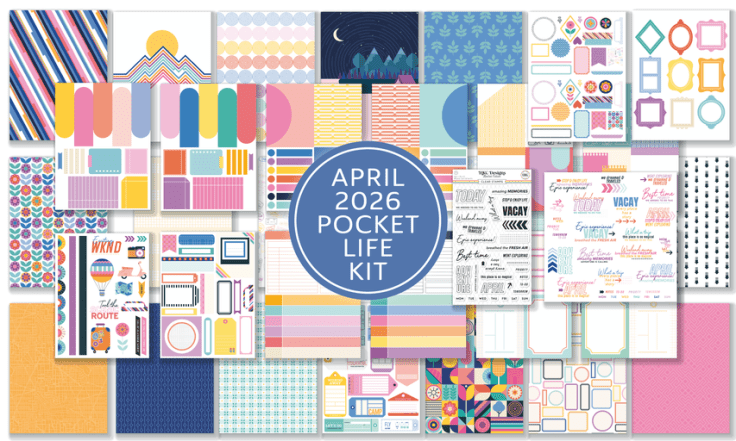
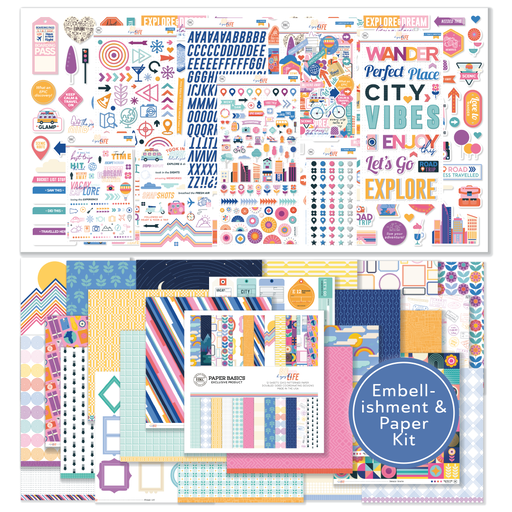
For this project Shanel reached for the April 2026 Cardstock Kit to build her sturdy base and scored mechanism, the April 2026 Pocket Life Kit for those perfect photo mats, and the April 2026 Main Kit with Patterned Paper to bring in coordinating prints like the aero paper she used on the base piece. What I love most is how Shanel shares all her little pro tips along the way, from reinforcing the back of the album with an extra white piece to burnishing every score line for crisp, sturdy folds. Grab your trimmer and your favorite vacation photos, and let’s walk through how to make a waterfall feature of your very own.
Step-by-Step Tutorial
Step 1: Modify the Sketch with a Luggage Tag
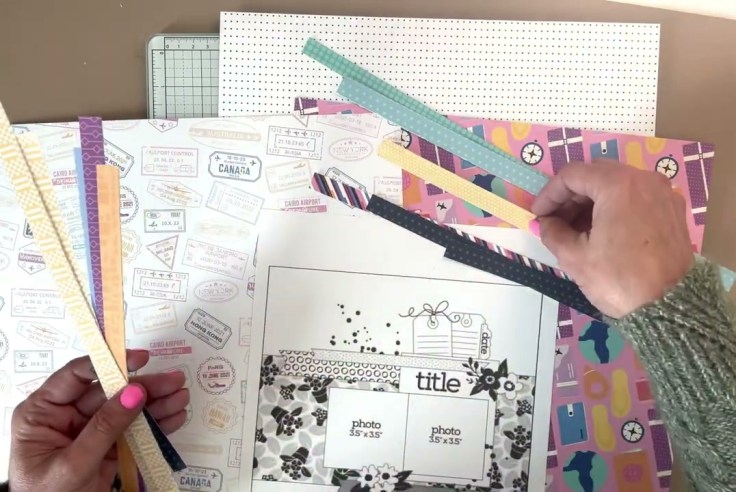
Shanel started with one of our monthly sketches and picked out branding strips to use for the strip elements. Instead of a plain horizontal piece running across the layout, she created a luggage tag to fill that space. The tag ties beautifully into the travel theme and fits the area perfectly, and she shares the measurements on screen so you can screenshot them if you want to recreate it.
Step 2: Cut All Your Waterfall Pieces
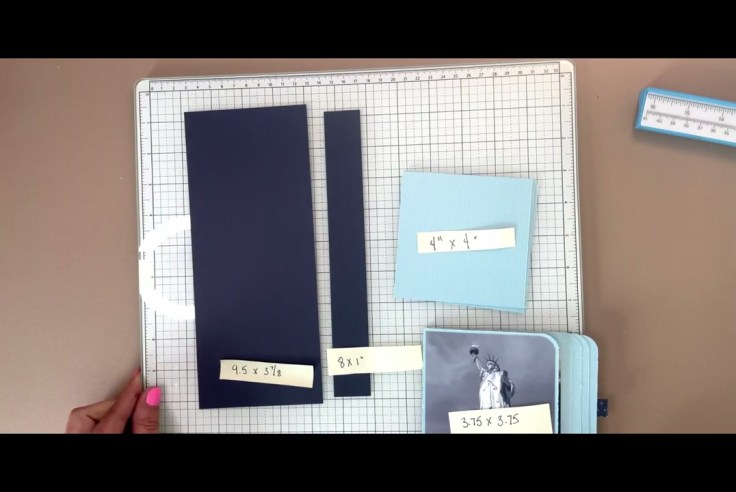
Before assembling, cut every piece you will need for the waterfall mechanism. You will need a base piece, a long moving piece that measures 8 by 1 inch, photo mats cut at 4 by 4 inches, and photos trimmed to 3 and 3 quarters by 3 and 3 quarters inches. Shanel also cuts a small polka dot piece of paper folded to act as the pulling mechanism, plus an extra white piece that hides on the back to reinforce the album since it gets pulled often.
Step 3: Round the Corners for a Finished Look
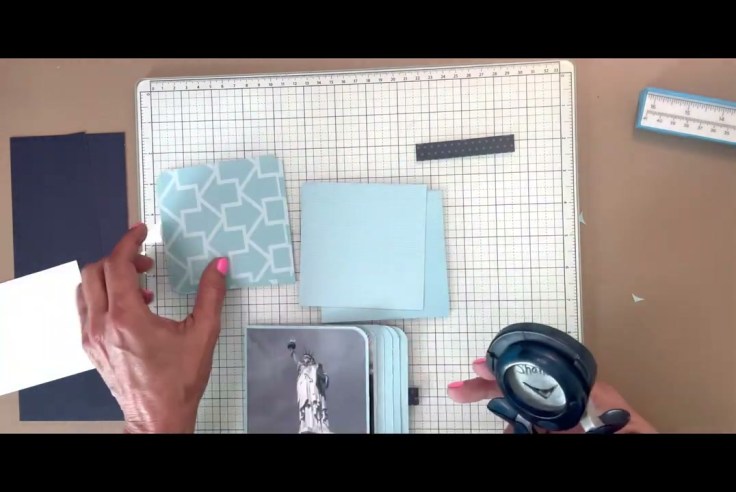
For an extra bit of polish, Shanel rounds the corners on two sides of her paper. It is not a necessary step, but those rounded corners add a lovely detail that elevates the whole project. She also chose the aero patterned paper for the base piece because it coordinates so nicely with her travel theme.
Step 4: Score the Base Piece Every Quarter Inch
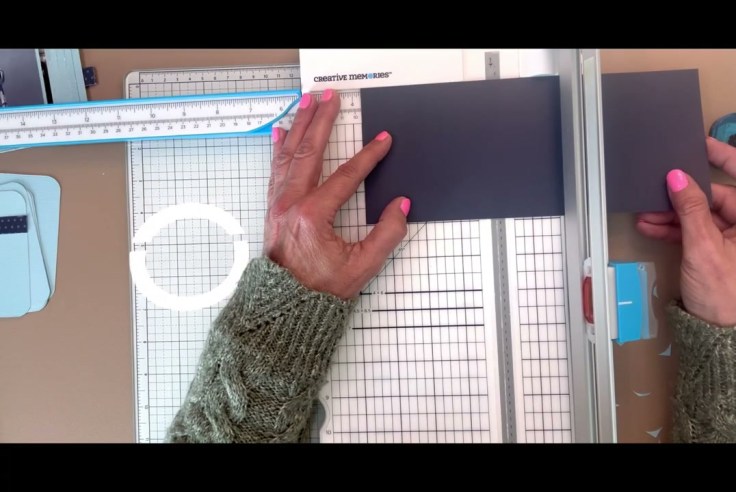
Using a scoring blade in her trimmer, Shanel makes a series of scores in the base piece. Start your first score at 3 and a quarter inches, then continue scoring every quarter inch at 3.5, 3.75, 4, 4.25, 4.5, and 4.75 inches. If you do not have a scoring blade you can use a bone folder or a scoring board instead. This evenly spaced pattern is what creates the accordion movement of the waterfall.
Step 5: Burnish and Fold the Score Lines
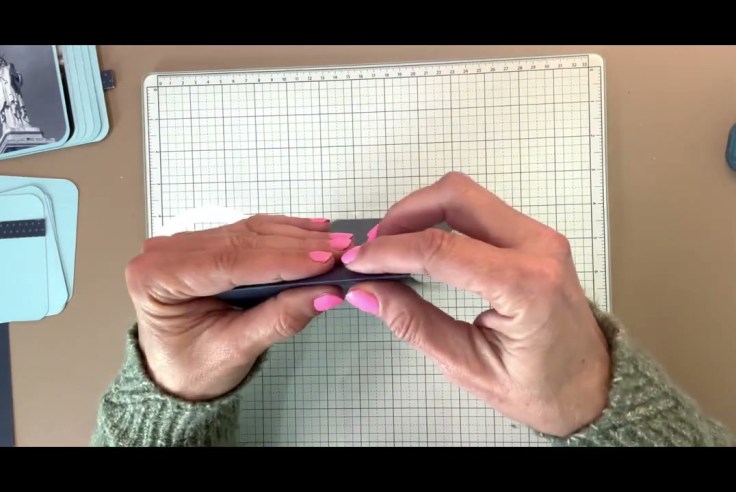
Once all your scores are made, take the paper out and burnish every fold to set them. Shanel folds each score and runs over it to make sure the lines are nice, steady, and crisp. Reinforcing the folds this way keeps the mechanism moving smoothly and helps the album hold its shape over time.
Step 6: Attach the Photo Mats to the Scores
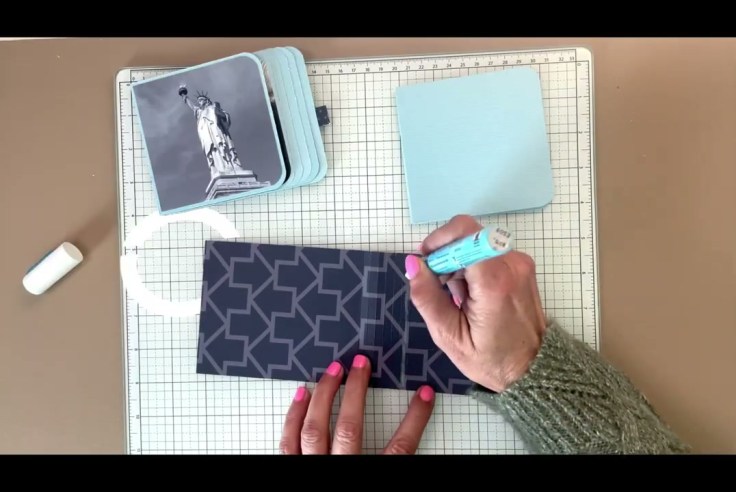
Lay your scored base paper down with the large rectangle section on your left and the smaller square section on your right. Shanel uses a Zig pen for her adhesive because it is easy to control, though she shows several glue options. Attach the very first photo mat aligned to the second score line, not the first one, and then continue gluing the remaining mats in place along the folds.
Step 7: Add the Pull Strip and Reinforce the Back
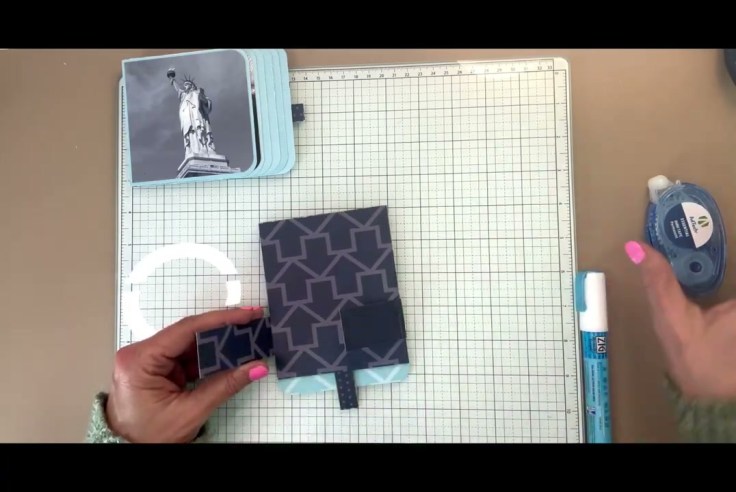
After all the photo mats and the 8 by 1 inch strip are attached, glue the last photo mat down to the white reinforcing piece without getting any glue on the white. Fold the strip around so it holds both pieces, applying adhesive only to the end of the strip so your background can still move freely in and out. Be careful not to get any adhesive on the moving background, because this folding step is exactly what makes your waterfall feature work.