Originally published by Hip Kit Club on hipkitclub.net.

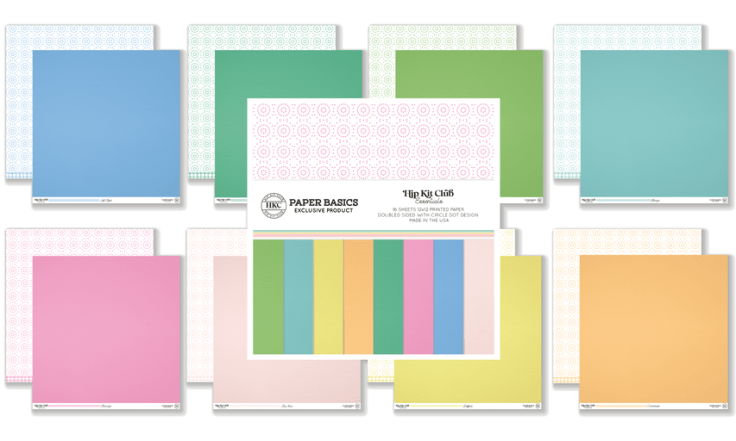
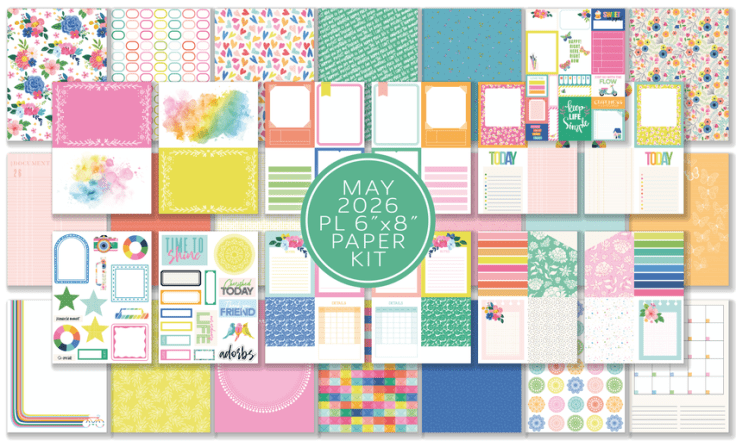
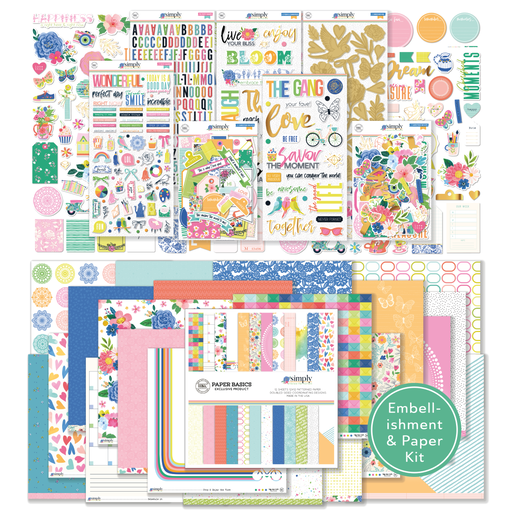
Hi friends, it’s Kimberly here, and I am so excited to share today’s project from the wonderfully talented Shanel Pettyjohn on our Hip Kit Club design team. Shanel sat down with the May 2026 Hip Kit and a gorgeous new cut file called the Floral Geometric Background, and let me tell you, what she made is absolutely stunning. She built a layered scrapbook page featuring a sweet photo of her granddaughter, using the May 2026 Main Kit patterned paper behind the cut file and the May 2026 Cardstock Kit (those beautiful circles!) as her base. The best part? Shanel shares a genius Cricut trick that lets you skip fussy cutting entirely, which, if you know Shanel, you know she is all about.
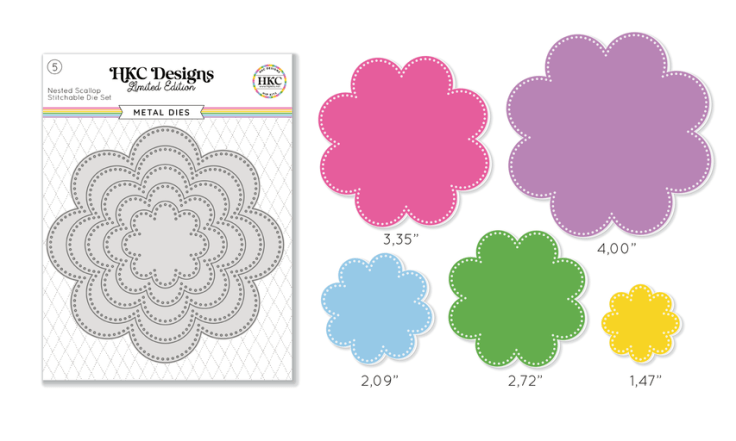
Along the way she pulls in the cutest tags from the May 2026 6×8 Pocket Life Cards and Ephemera Shapes, and she gets creative with the April 2026 Nested Stitchable Scallop Die Set to make her very own stitched flowers when her kit florals ran low. She also leans hard into foam adhesive for tons of depth and dimension, popping her pink flowers right up off the page. It is such a fun, approachable layout, and Shanel walks you through every step like she’s crafting right there beside you. Grab your May kit and let’s follow along together.
Step-by-Step Tutorial
Step 1: Cut Your Patterned Paper to Fit the Cut File
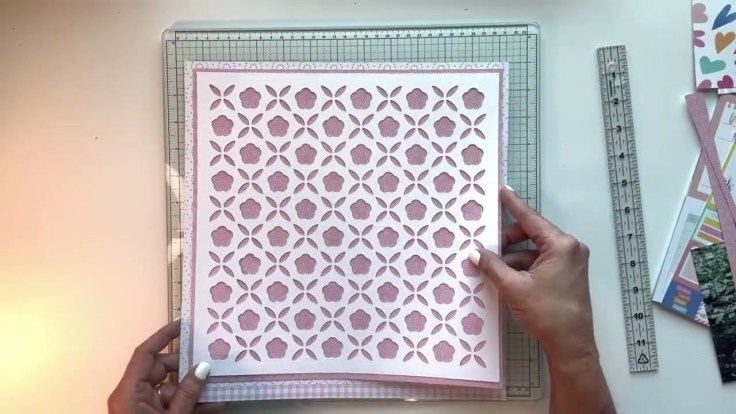
Start by choosing a piece of patterned paper from the May 2026 Main Kit to sit behind your Floral Geometric Background cut file. Instead of backing every single flower and leaf individually, Shanel cuts one full sheet of paper to roughly 11 and 1/4 by 11 and 1/4 inches, the size of the cut file. This gets layered onto the May 2026 Cardstock Kit base with those pretty circles. It is a huge time-saver and gives you a clean, coordinated background.
Step 2: Use the Cricut Contour Trick to Isolate the Flowers
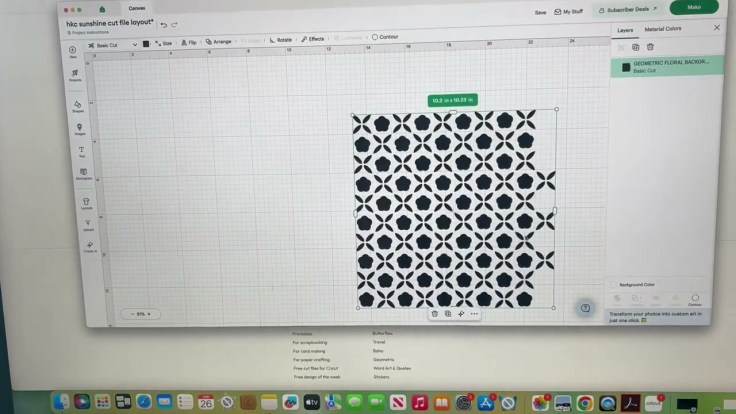
Here is Shanel‘s favorite no-fussy-cutting shortcut. In your Cricut Design Space file, select the cut file and click the Contour button in the bottom right corner, which turns the design black and white. Hover over any element you want to remove and it turns green, then click to temporarily unattach it. Shanel unattached all the leaves so only the flowers remained, letting her cut every flower at once from pink paper.
Step 3: Reverse the Contour to Cut the Leaves
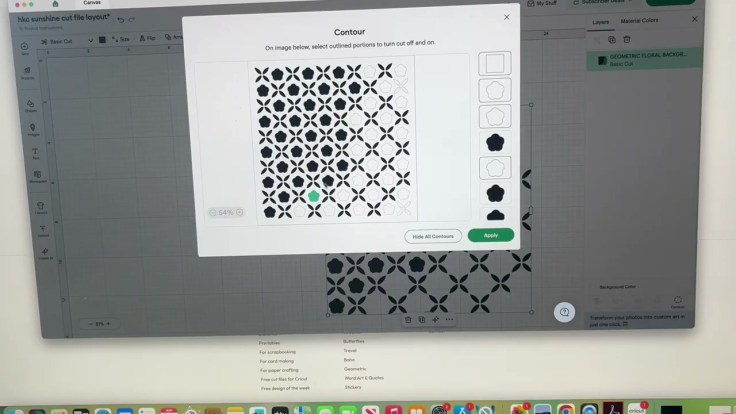
Once your flowers are cut, click Contour again and choose Show All Contours to put the file back together, which is quick and easy. Then do the exact opposite, unattaching the flowers so only the leaves are left. Run your green paper through the Cricut and cut all the leaves in one pass. Now you have perfectly coordinated pink flowers and green leaves without ever picking up an X-Acto knife.
Step 4: Choose and Arrange Your Pocket Life Tags
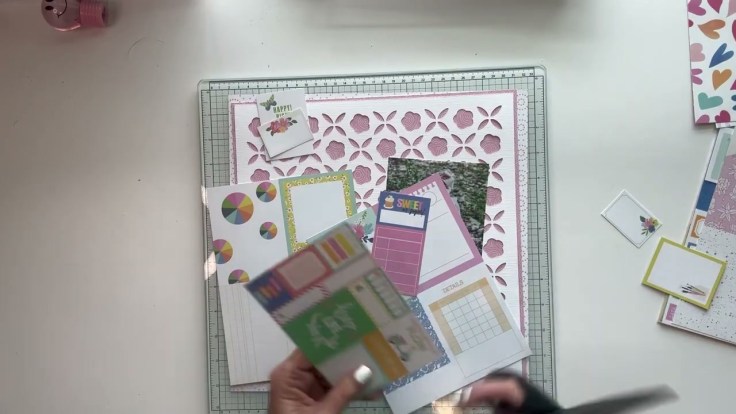
Shanel pulls several adorable tags cut from the May 2026 6×8 Pocket Life Cards and Ephemera Shapes, and they coordinate beautifully with the paper. Lay everything out on your page temporarily, including your tags and photo, before you adhere anything down. This lets you play with placement and make sure everything lands exactly where you want it. Trust me, a little dry-fit now saves a lot of regret later.
Step 5: Adhere the Cut File and Add Your Photo
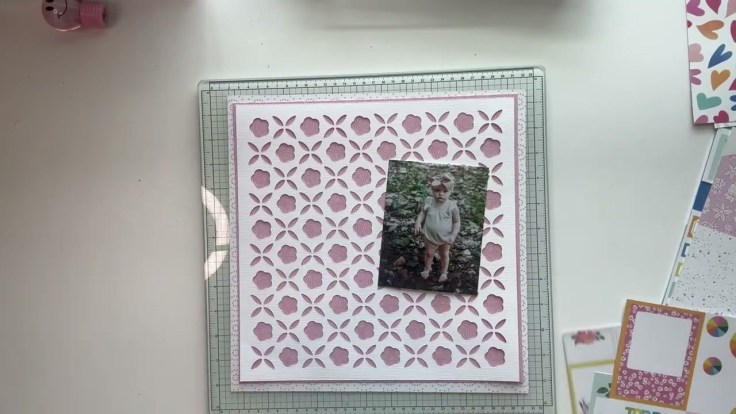
With your background ready, adhere the floral geometric cut file down over the pink patterned paper so all those pink flowers and green leaves pop against it. Then add your focal photo. Shanel used a precious picture of her granddaughter and lifted it up with foam adhesive so it sits proud of the page. This is where your layout really starts to come to life.
Step 6: Make Stitched Scallop Flowers
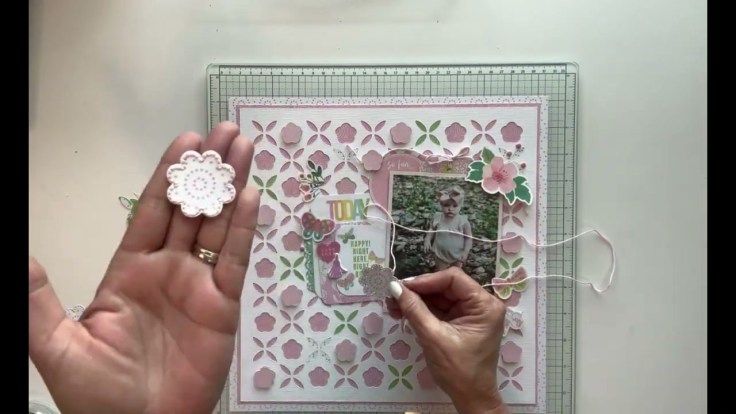
When Shanel realized she only had one floral embellishment left from her kit, she improvised beautifully. Using the April 2026 Nested Stitchable Scallop Die Set, she die cut scalloped shapes from cardstock and stitched around the edges to turn them into charming handmade flowers. This is a great reminder that you can always make your own embellishments to fill a page. Stitching adds such a sweet, handcrafted touch.
Step 7: Pop the Flowers with Foam Adhesive
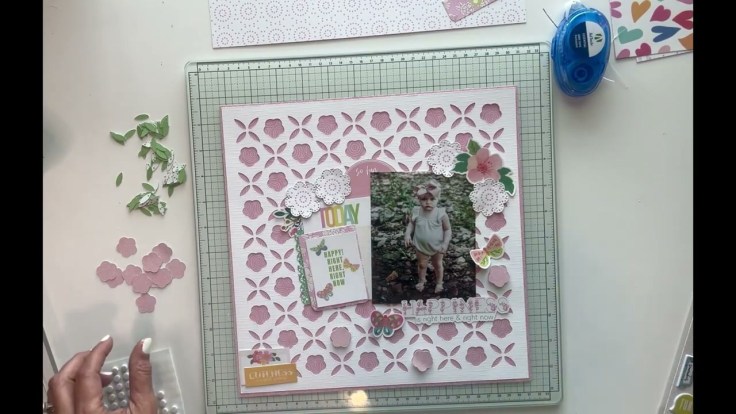
Instead of tucking the pink flowers behind the cut file, Shanel places them right on top using foam adhesive for gorgeous depth and dimension. Add little dots of foam adhesive to the back of each flower so they jump off the page. Then fit the green leaves into place like puzzle pieces, since they are pointed on one end and round on the other. A dab of adhesive on the back and each leaf slots right into its spot.
Step 8: Finish with Playful Pops of Green
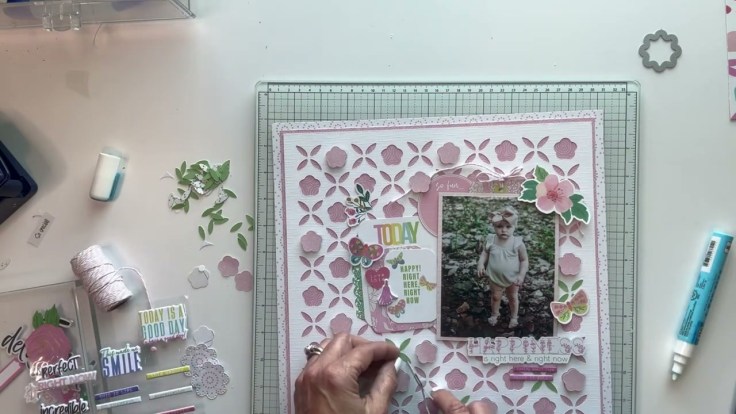
To complete the layout, Shanel fills in with more green leaves, but adds a fun twist. She flips the green cardstock over in a few spots so it reads solid green in some places and lets the polka dots peek through in others. She does not do this everywhere, just a scattered few here and there for interest. Step back, admire your dimensional floral page, and enjoy the happiness you cut right out of that file.