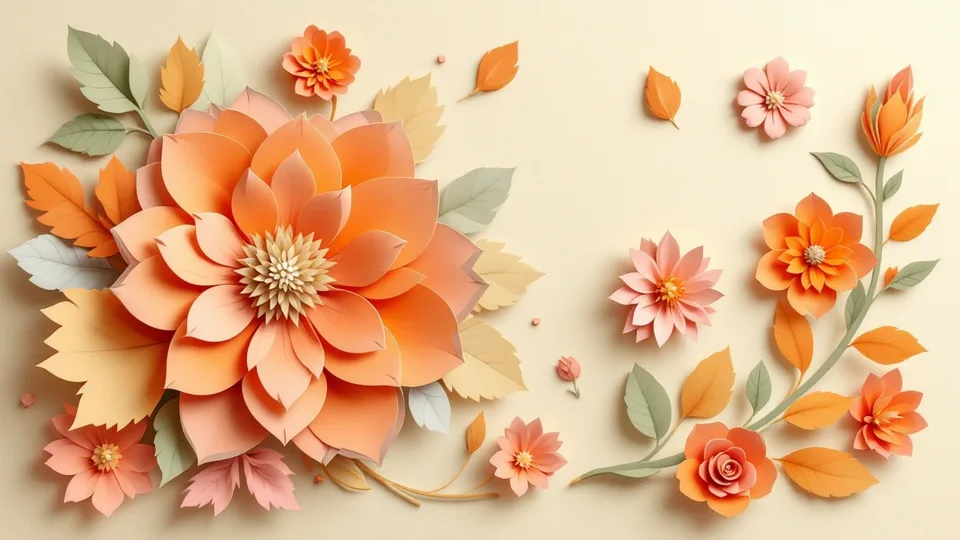
Paper piecing is the technique of building a single image out of separately cut pieces of patterned paper rather than cutting it from one sheet. A flower becomes petals in one paper, a center in another, leaves in a third. The result has color, pattern, and physical depth that a flat one-layer cut cannot match.
It reads as a fussy technique and it is not. If you can cut a layered file and line up two shapes, you can paper piece.
What you need
- A layered or multi-piece cut file
- Two to five patterned or textured papers that work together
- A cutting machine, or scissors and patience
- A glue pen or fine-tip liquid adhesive, plus foam dots if you want lift
- Optional: ink or chalk for shading edges
Step 1: Pick a design that suits the technique
Good paper piecing designs have a few large, distinct shapes rather than many tiny ones. Flowers, animals, houses, seasonal motifs, and simple scenes all work. Anything with fine internal detail fights you, because small pieces are hard to place and the pattern is not readable at that scale anyway.
Layered files are the natural fit, and the detailed and layered designs in the catalog are a good hunting ground. If you want to try the technique before committing, start with a free SVG.
Step 2: Plan the paper before you cut
Lay your papers out and decide which piece goes where while everything is still whole. This is the step that separates a piece that looks considered from one that looks busy.
Two rules carry most of the work. Vary the scale, so a large floral next to a fine stripe next to a solid, rather than three medium prints competing. And keep one piece quiet, usually a solid or near-solid, so the eye has somewhere to rest.
Step 3: Cut the layers
In Design Space or Silhouette Studio, ungroup the design so each layer becomes its own object, then assign each to the paper it will be cut from. Cut each color on its own mat.
Keep the pieces organized as they come off the mat. A small piece that has lost track of which layer it belongs to costs more time than the cut did. Lay them out in roughly the shape of the finished design as you weed.
Step 4: Assemble from the back forward
Start with the largest background shape and work forward, gluing each piece on top of the last. Use a glue pen for small pieces so adhesive does not squeeze out at the edges.
For dimension, put foam dots under the pieces that sit nearest the viewer, the front petal of a flower or the roof of a house, and glue the rest flat. Lifting everything makes the piece look inflated rather than dimensional. Lift one or two elements and leave the rest down.
Step 5: Shade the edges
This is the optional step that makes the biggest visible difference. Run a soft brown or grey ink pad, or a chalk applicator, lightly around the outside edge of each piece before you glue it. It defines each layer against the one below and stops the design reading as flat stickers.
Go lighter than feels right. You are suggesting a shadow, not drawing an outline.
Common mistakes
Too many patterns. Three is usually plenty. Add a solid if it feels crowded.
Everything on foam. Dimension comes from contrast between lifted and flat.
Cutting before planning. Once a piece is cut in the wrong paper, you cut it again.
Skipping the shading. It costs thirty seconds and does more than any other single step.
Frequently asked questions
What is paper piecing in scrapbooking? It is building one image from separately cut pieces of different papers, layered and glued together, rather than cutting the whole image from a single sheet. It adds pattern, color, and physical depth to a design.
Do I need a cutting machine for paper piecing? No. The technique predates cutting machines and works with scissors and a printed template. A machine makes it faster and more accurate, especially on curved shapes and repeated pieces.
What paper works best for paper piecing? Standard 65lb to 80lb patterned cardstock is ideal. It holds a crisp cut edge and layers without becoming bulky. Very heavy stock makes a stack that will not lie flat, and thin scrapbook paper tears at small pieces.
How do I stop the layers looking flat? Shade the outside edge of each piece with a light brown or grey ink before gluing, and put foam dots under only the one or two elements that should sit forward. Contrast between lifted and flat pieces is what reads as depth.
Which cut files work best for paper piecing? Designs with a few large distinct shapes rather than fine internal detail. Flowers, animals, houses, and seasonal motifs are reliable. Layered files are already separated into pieces, so they need no preparation.


